


5 Kitchen Appliances You’re Probably Not Cleaning Enough
Can you imagine life without a fridge or a microwave? But we don’t clean these staple items nearly enough. And if you aren’t cleaning the interiors and exteriors, think about what might be lurking underneath – dust, grime and crusted food no doubt.
Taking care of your kitchen appliances isn’t hard. Plus with all the cleaning and caring, your food will taste better and the appliances will last longer too. Regular cleaning will help remove food build-up, reduce odours and improve the machine’s functionality and life span.
Here’s how to clean the top 5 most rarely cleaned appliances:
1. Kettles
You may think that since you’re already boiling water, the high temperatures will kill any bacteria and germs lurking inside. You’re right about that. But the issue with kettles is the fact that water left sitting in the kettle will leave lime scale deposits – the white layer that starts forming on the induction coil. These deposits make the kettle inefficient to use, taking longer to heat up and using more energy than necessary. Worse yet, you might see white deposits floating about in your drink if you don’t clean off the scale deposits.
Use vinegar to descale a kettle. Dilute it with water in a 1:1 ratio and boil. Empty the kettle into the sink (place some baking soda down the drain beforehand, and as an added bonus, your sink drain will get cleaned and deodorized as you pour out the vinegar). Fully rinse the kettle with fresh water a few times before using as usual.
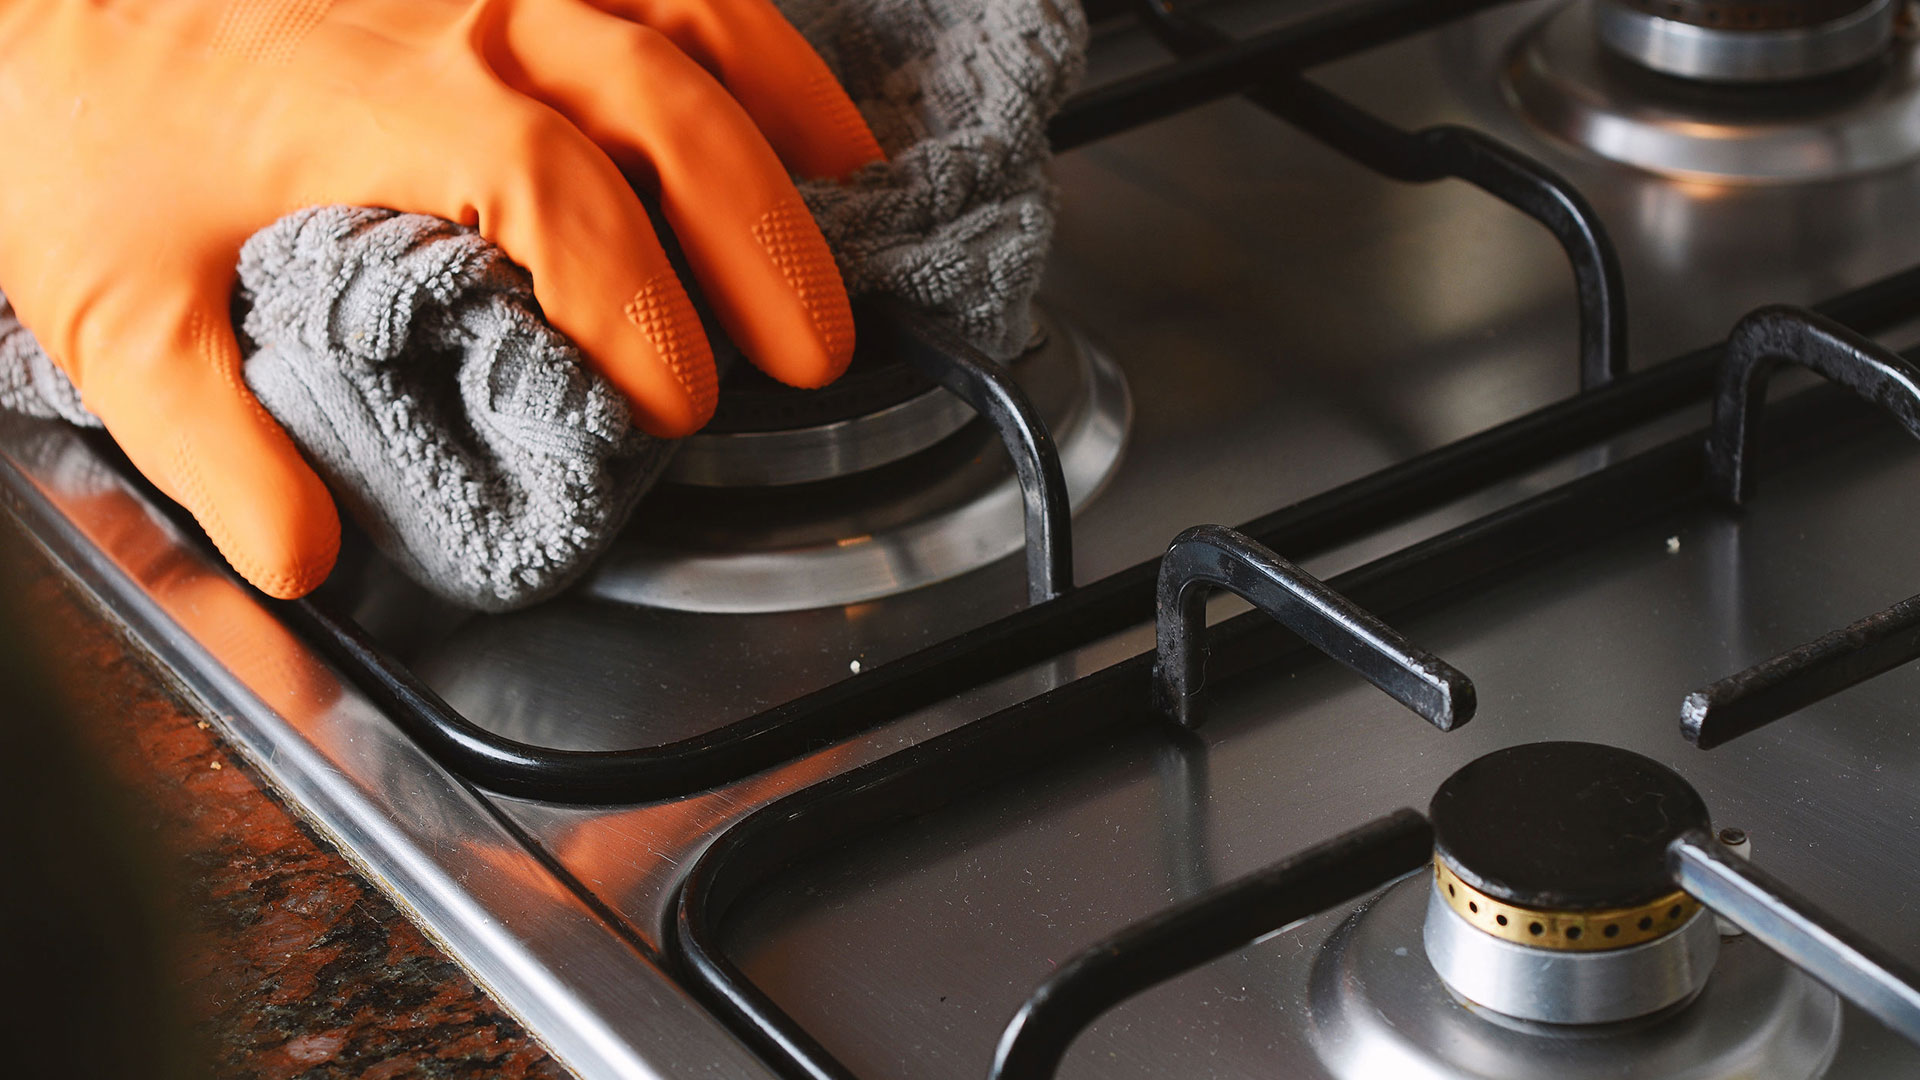
2. Stoves
However little cooking you do at home, stoves usually end up being neglected. Food spills or splatters that aren’t wiped up immediately become a great breeding ground for bacteria.
Make salt your best friend here. Use salt to clean burnt food; sprinkle stovetop food spills with salt immediately so that they come off more easily; sprinkle salt and a little water on to scorched pans and let sit for a little while before scrubbing off (salt helps to lift off the burnt material). Make it a habit to wipe down stovetops after each use with regular all-purpose cleaner and a microfibre cloth.
3. Microwaves
Every time you heat food in the microwave without using a cover or lid there are some splatters behind in the oven chamber. Over time these remnants dry out and become harder to remove.
Clean the oven chamber with soap and water regularly to stop the unsightly food (and bacteria) build ups. For more thorough cleaning and to deodorise, cut one lemon and place it in three cups of water in a glass microwavable bowl. Run the microwave on high for about 5 minutes or until the water boils and the window is covered in steam. The emerging steam will help to loosen grease and crusted food bits. Use a sponge or microfiber cloth to wipe the inside clean - don’t forget the roof, the turning plate and the door handle.
4. Refrigerators
The fridge can be a hotbed of germs as it houses everything from raw meats, eggs and cheese to fresh fruits, vegetables and milk. Unless it is cleaned and sanitised regularly, fridge temperatures are ideal humid spaces for bacterial growth.
Wipe the handle on a daily basis and wipe up internal spills on the spot. For a deeper interior clean, empty out the fridge on a quarterly basis to wipe everything down – this also helps remove old foods from the fridge. Wipe and deodorise shelves with a solution of warm water and baking soda (1 tablespoon baking soda mixed with approximately 1 litre warm water).
If possible, unplug the fridge once a year and pull away from the wall to vacuum the dust and dirt that has collected behind and underneath. If the condenser coils are covered in dust, the fridge will be using more energy, overworking, shortening its life span and not cooling enough.
Finally, wipe the exterior surface of the fridge with diluted soapy water, before rinsing with hot water and drying with a soft cloth. Use a paste of baking soda and water for more stubborn stains and gently wipe away with a damp cloth.
5. Toasters
Notice a ‘burning’ smell each time you toast something? No matter how often you shake out the pop-in toaster, there will always be crumbs and little burnt bits of toast sitting at the bottom of the toaster, which get a little more charred with each use.
Empty the crumb tray and shake the toaster gently over a dustbin. Rinse the crumb tray in warm soapy water before drying and replacing. Better yet, line the tray with foil so that next time can replace the foil without washing the tray.
For the latest updates on Wonderwall.sg, be sure to follow us on TikTok, Telegram, Instagram, and Facebook. If you have a story idea for us, email us at [email protected].


