


School Holiday Fun: Smoosh Painting That Is Mess-Free!
As busy parents, the idea of doing an at-home art project with our kids can be overshadowed by one niggling worry: the mess. Most of us want something fun and simple – bonus points if it can keep our kids engaged enough to buy us some peace and quiet.
Enter the DIY Mess-Free Smoosh Painting. It’s a hands-on art project that requires minimal help from adults and minimal supplies. As an abstract painting, smoosh art gives your child the freedom to experiment with all sorts of colours during the process and be wowed by the final result: a wonderful new piece of artwork for your home.
You’ll need:
· White paper (watercolour paper is optimal)
· Paint
· Cellophane
· Paintbrush or rolling pin (optional)
Ready to get started? Here's how....
1. Decide which colour palette you would like to use.
When doing this with small children, it’s helpful to set up the paper and paints first. Ask them which colour combination they’d like to try. We find that sticking to about five to six colours works well.
Colour ideas include: Choosing one colour family (i.e. various shades of blue); high-contrast colours; themes such as “mermaid colours”; or seasonal hues such as Summer. Encourage your child’s own preferences and let them express themselves through their colour choices.
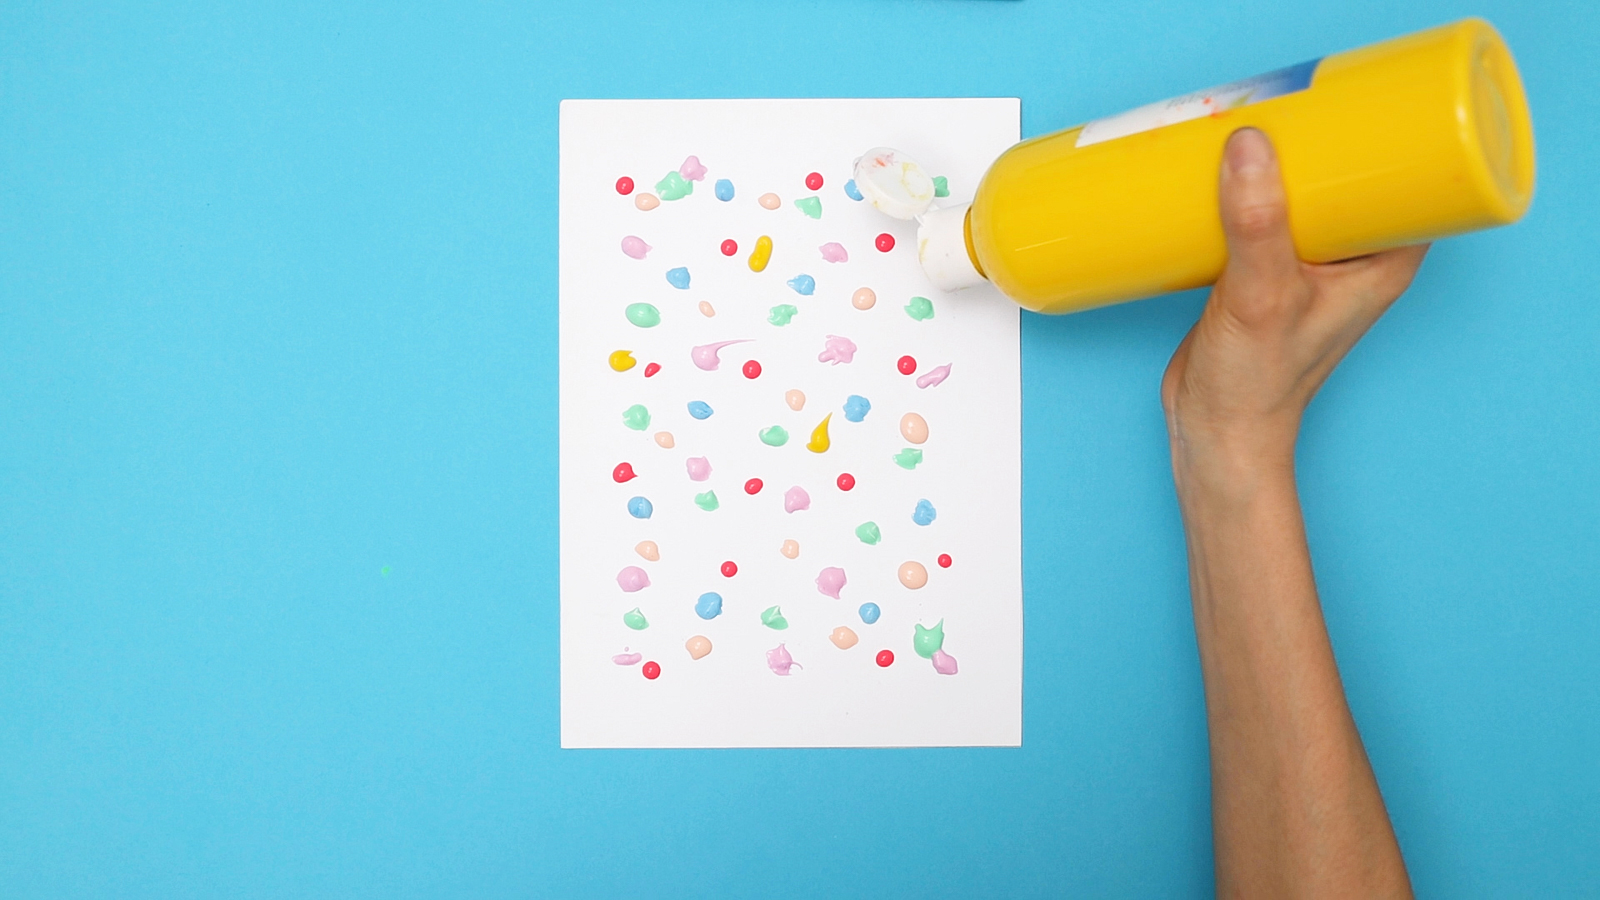
2. On a piece of paper, add dots of paint anywhere you’d like.
If your paint comes in a squeezy bottle (we used IKEA Måla paints), it may be easier to squirt dots directly onto the paper. Otherwise, you can spoon small globs of paint from a cup onto the paper.
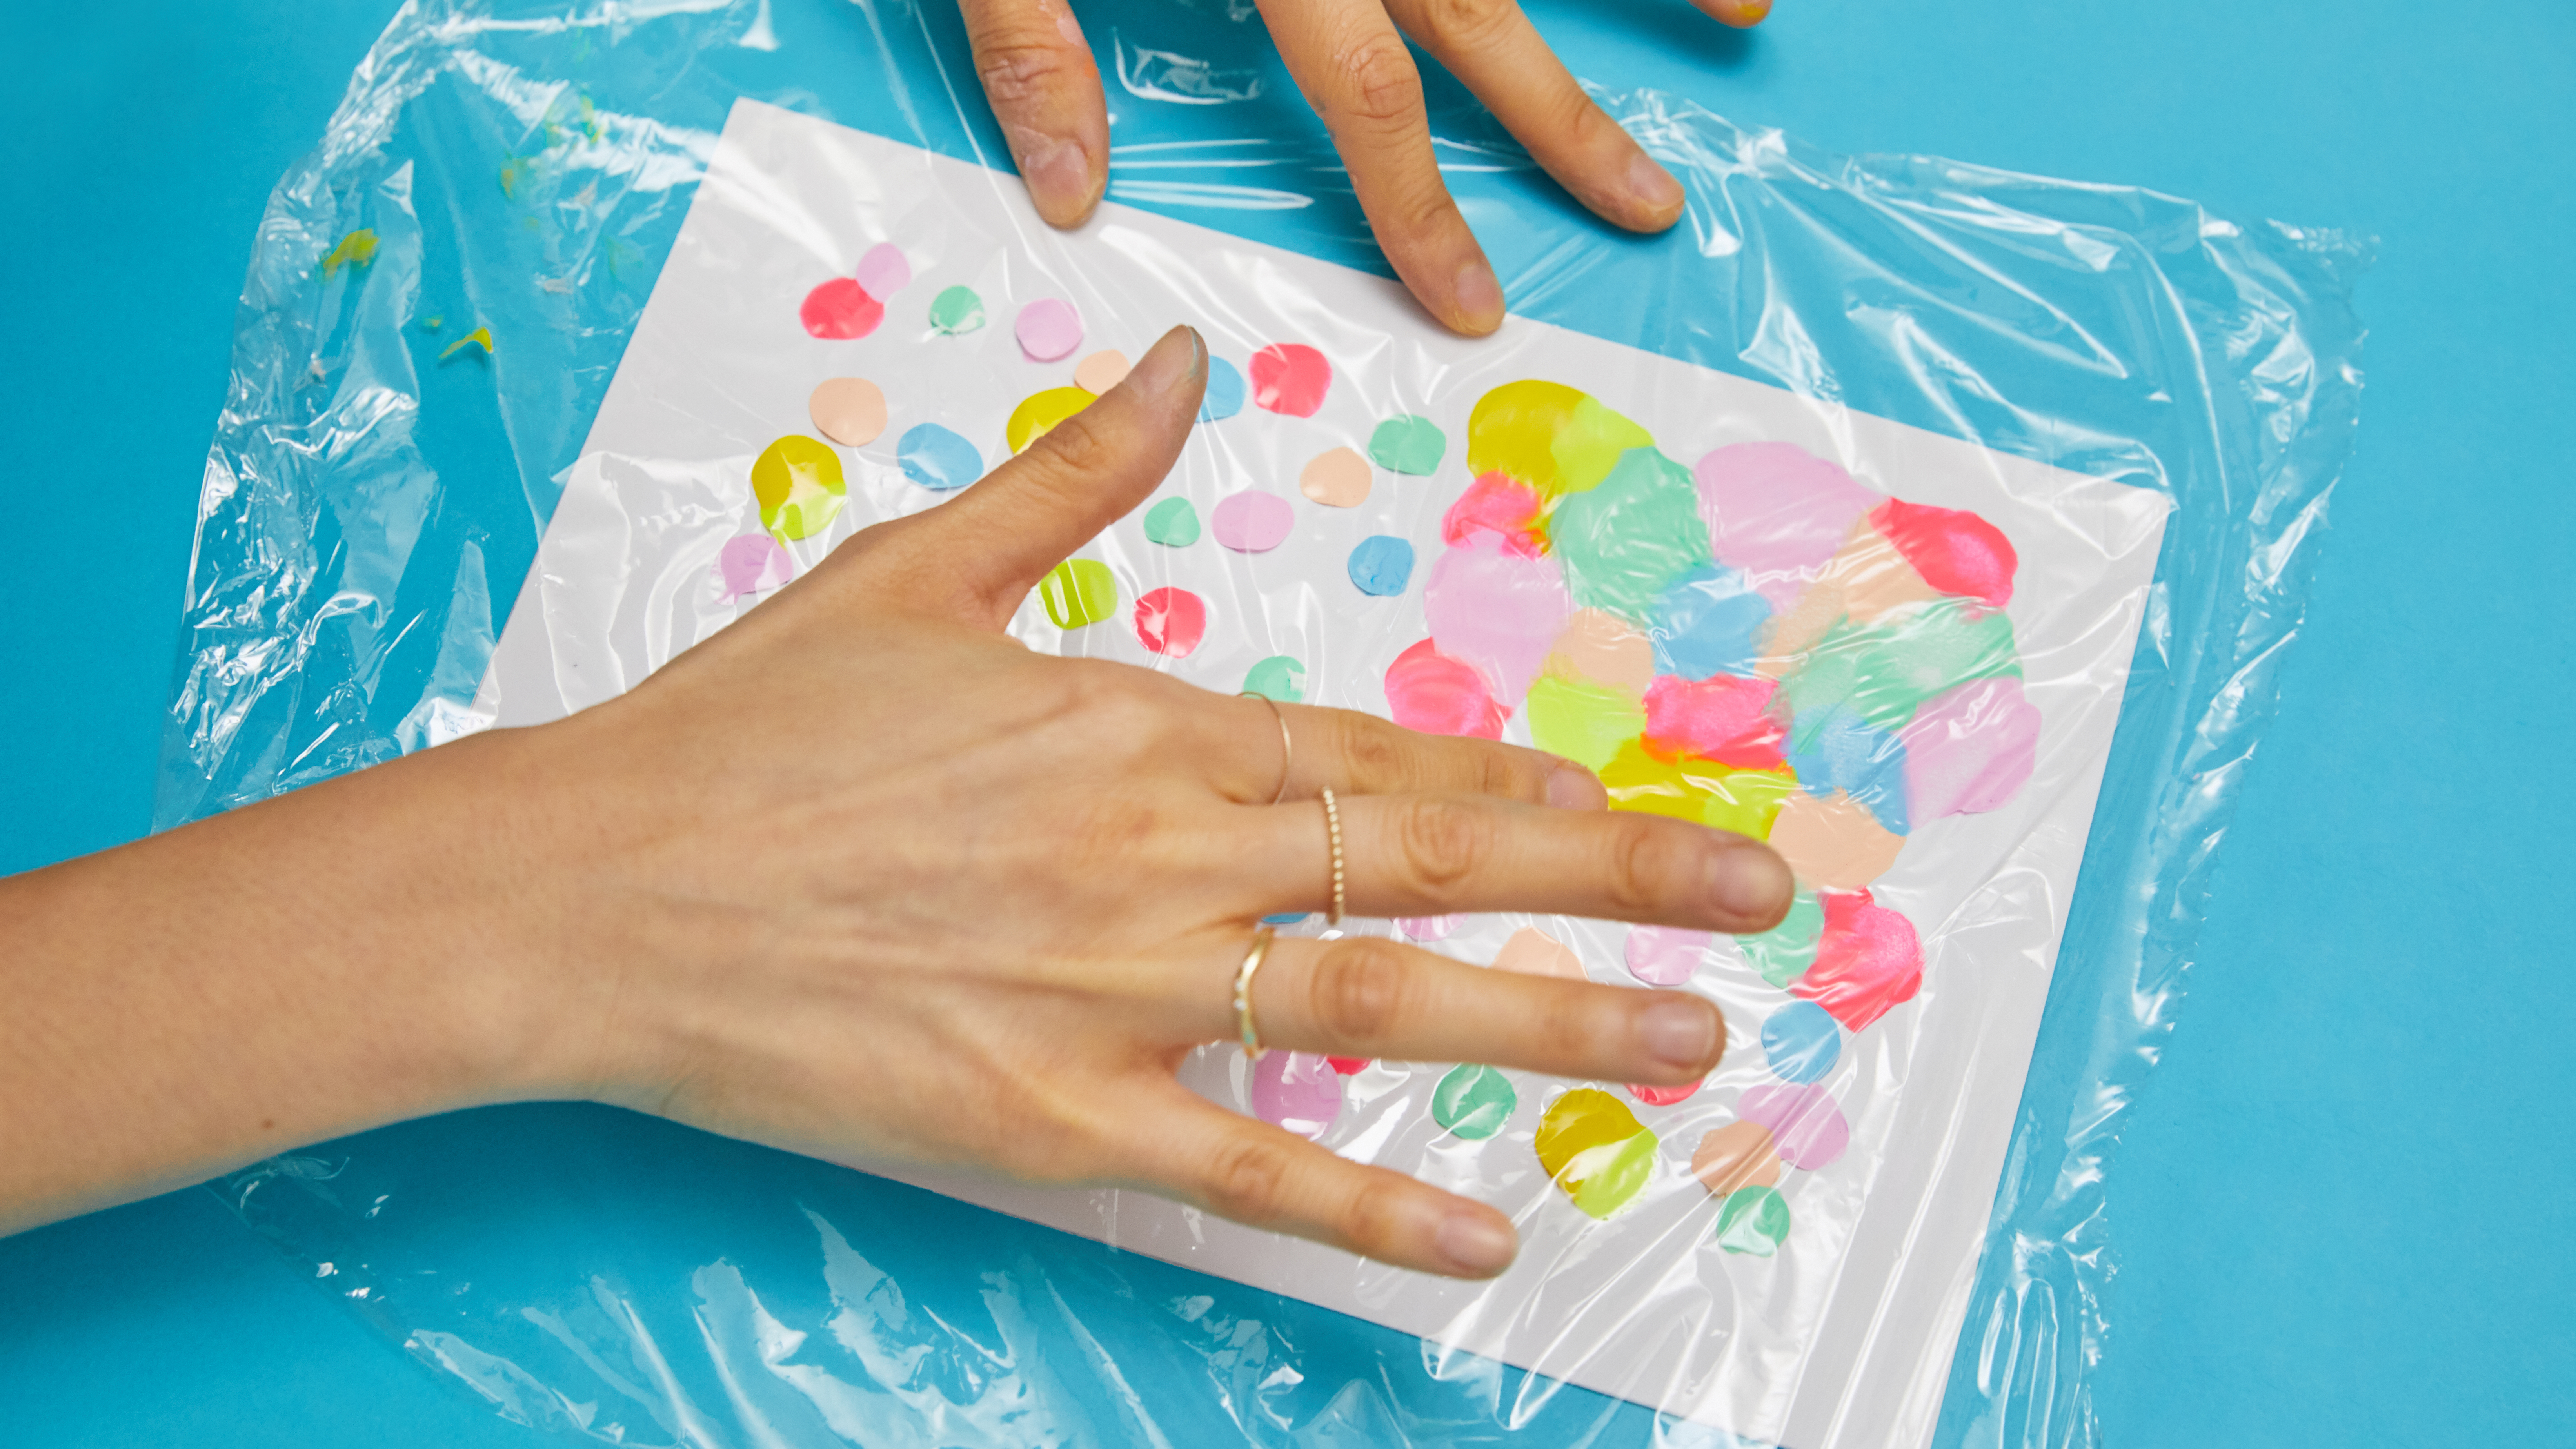
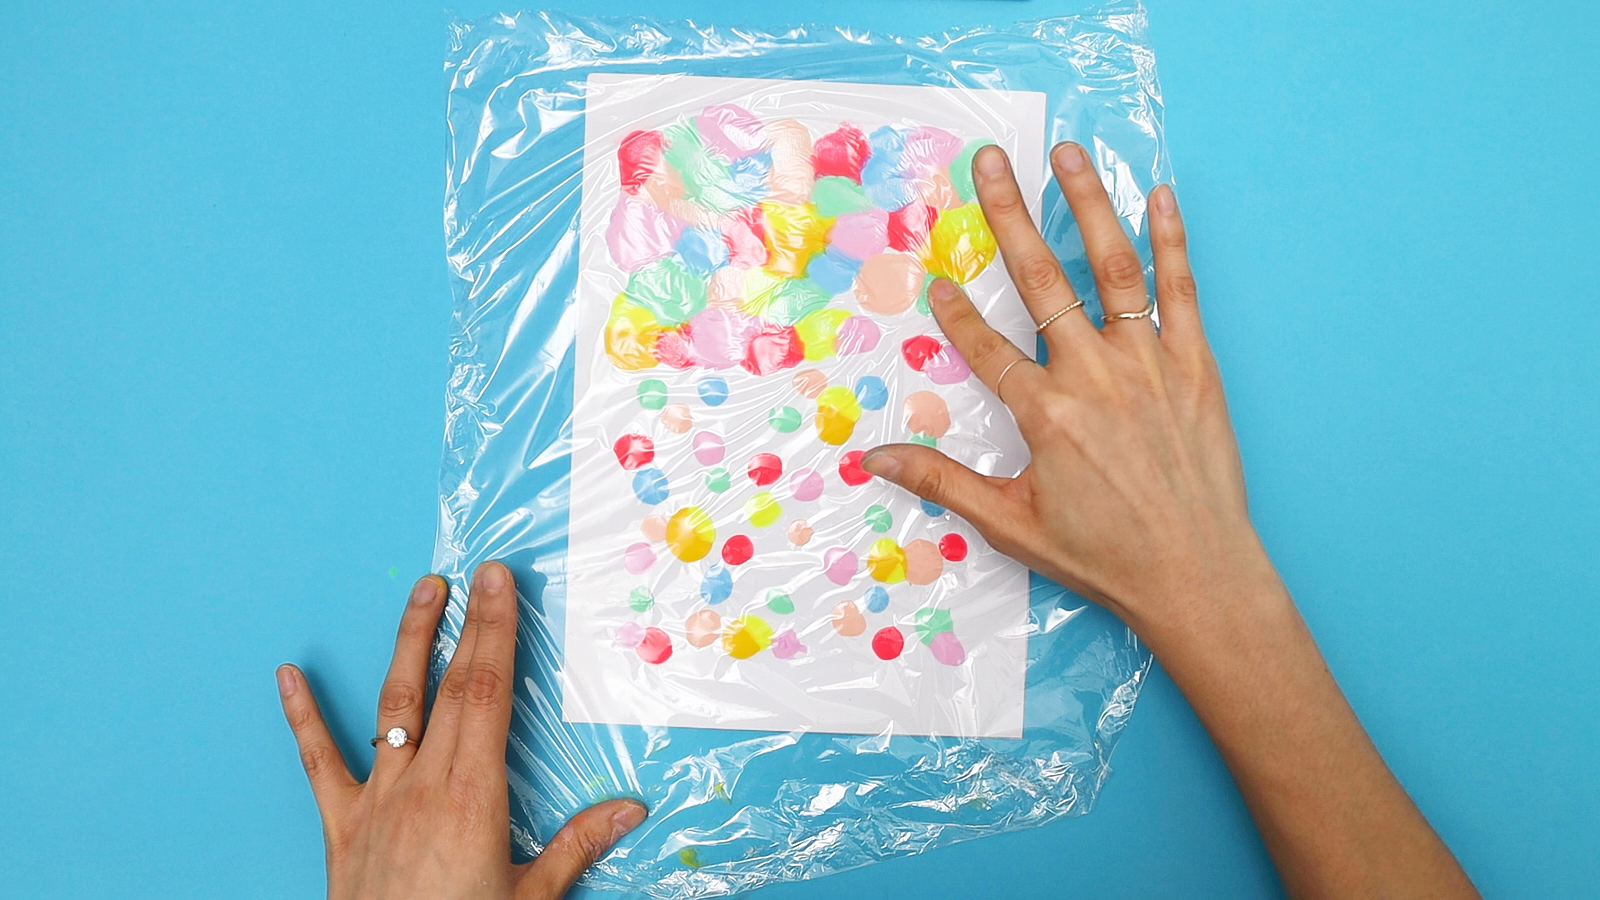
3. Lay cellophane on top of the paint and smoosh.
Gently cover the paper with cellophane and use your fingers to “smoosh” the paint. Spread out the dots and watch how the colours run into each other; some of them may overlap and even form new shades. With cellophane covering the paint, there is minimal mess in this tactile painting project.
4. Optional: Continue smoothing out the paint with a rolling pin or dry paintbrush.
If there are any stubborn thick globs, even it out with a paintbrush (dry, stiffer bristles lend more pressure). Alternatively, you could use a rolling pin to gently spread out the globs.
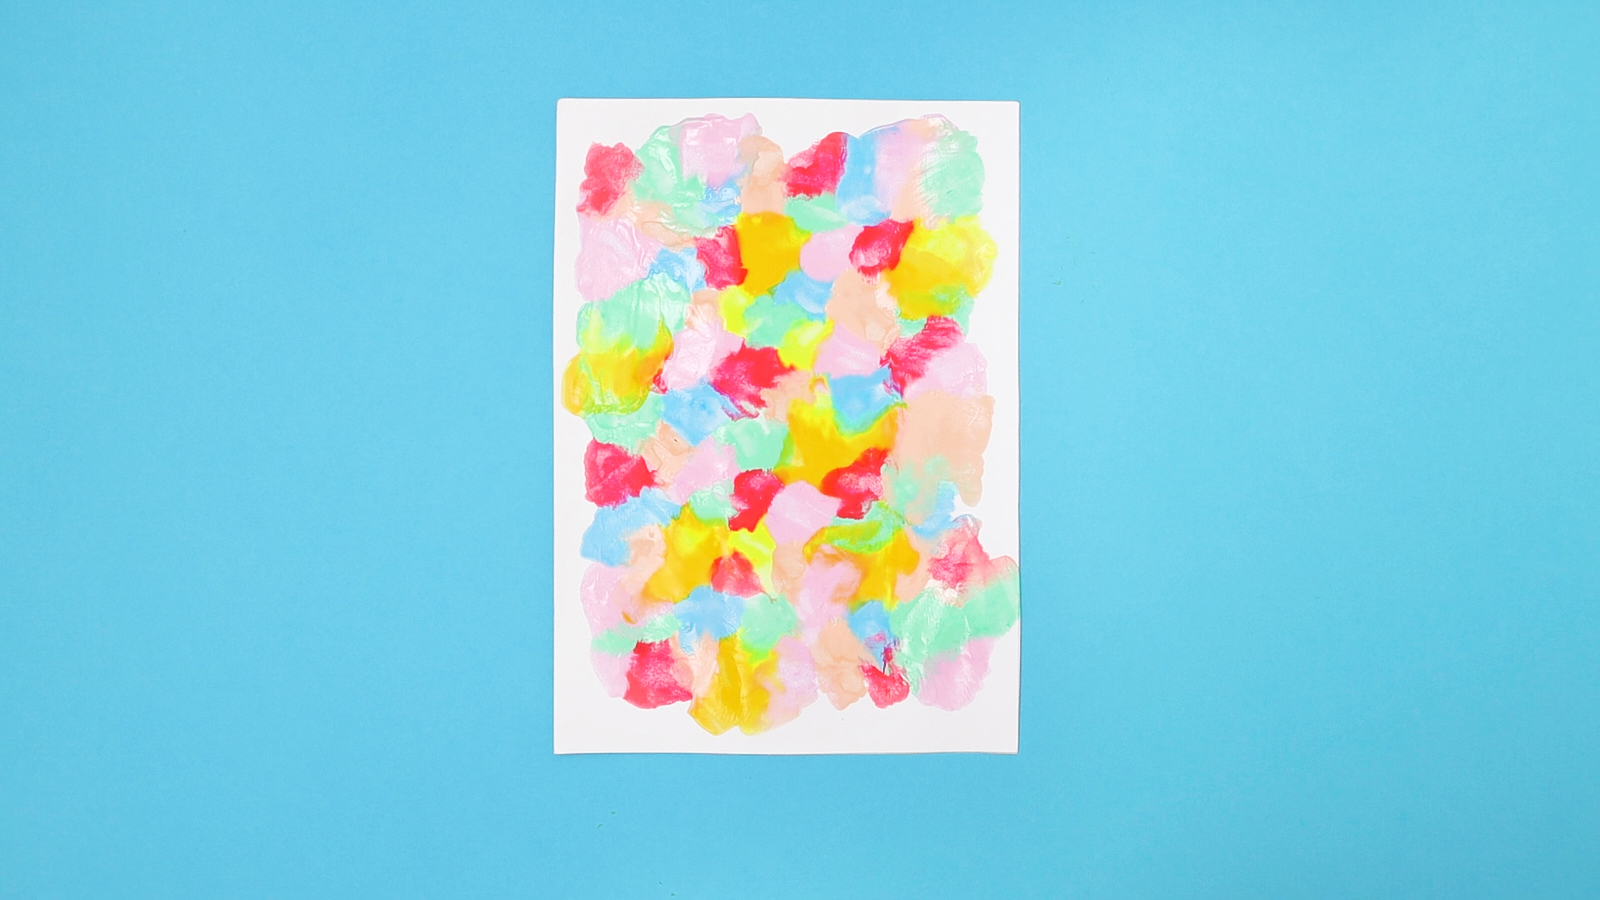
5. Peel back the cellophane and let your artwork dry.
Let your child peel the cellophane off the paper and admire their smoosh painting. (Notice how pretty the printed-on cellophane is, too!) Let the painting dry for a few hours or overnight, or use a hair dryer for faster drying.
Now your child’s smoosh painting is ready to be displayed on the wall or made into homemade postcards for loved ones!
For the latest updates on Wonderwall.sg, be sure to follow us on TikTok, Telegram, Instagram, and Facebook. If you have a story idea for us, email us at [email protected].


: Play Retro Games")
