CHIONG AH: Here’s How To DIY Your Wedding E-Invite In An Hour Or Less
So your wedding date has snuck up on you faster than 2024 did, and now you desperately need to start collecting RSVPs. But you have no e-invites, no graphic design skills, and worst of all, no suitable photographs.
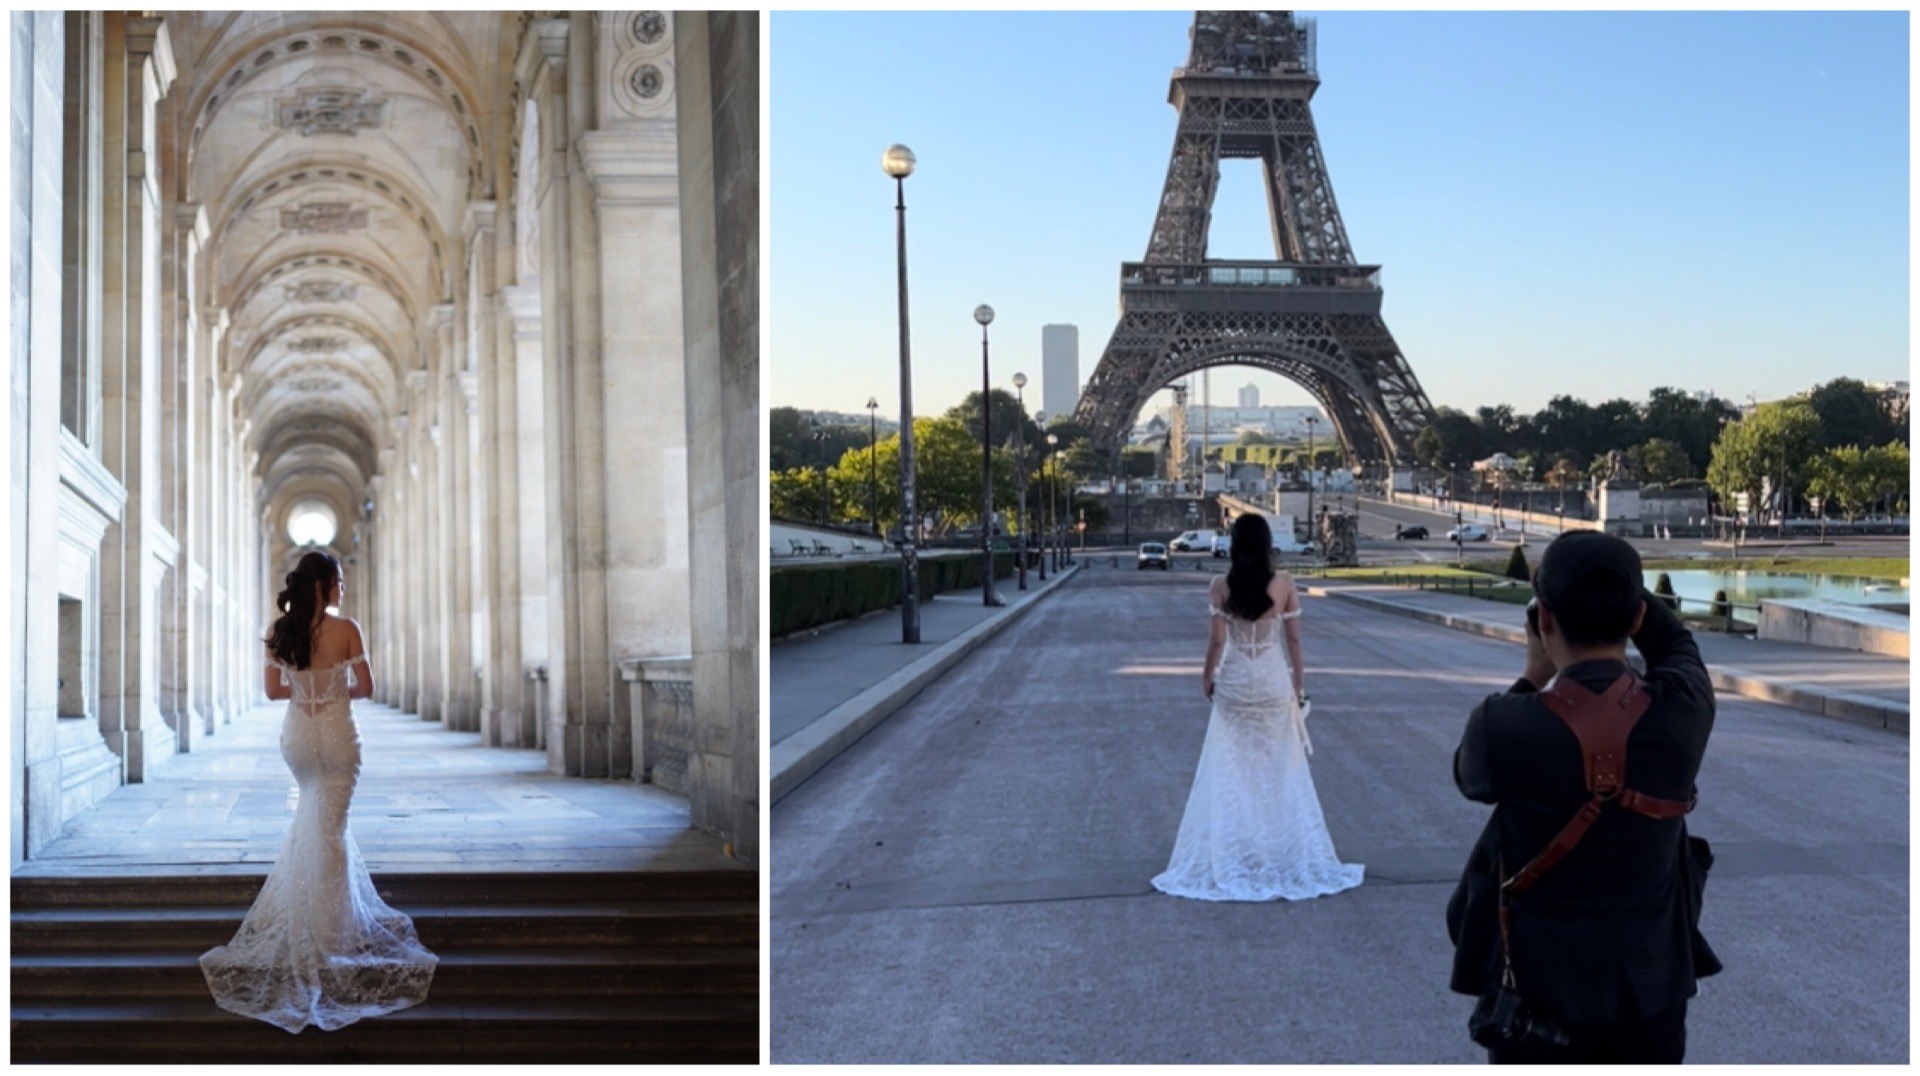
As a last-minute bride who decided to chiong wedding planning to secure a particular venue before its permanent closure, I sometimes wish I had started earlier so that I would have had the option to use some of our pre-wedding shoot (PWS) photos for our e-invites. Still, there’s no point wallowing in regret. Either I could hire a wedding coordinator to help us rustle up a graphic designer and a photographer at the last minute, or I could save time and money by just making the e-invites myself.
With the help of DIY photo booths and online graphic design platforms, creating your own e-invite is both cost-effective and dummy-proof. Here’s how to get started:
Photography – Use a self-photo studio
Back in the day, we had neoprints. Today, it’s all about self-photo studios. By now you’ve probably seen at least one couple post black and white photos from Fotomat on Instagram, but at least a dozen of these has sprouted up around Singapore. Base rates are usually under $40 for 30 minutes (usually 15 minutes of shooting, followed by 15 minutes of photo selection), not including a small top-up for soft copies. Below, a non-exhaustive list of what you can consider:
Fotomat: The OG. Singapore's first black and white self-photo studio, located on Craig Road, has starting rates of $30 for a 30-minute session, with a top-up of $30 required for all digital copies.
Photobytes: This pet-friendly studio in Haji Lane offers coloured lighting and moody backgrounds for couples who want a moody vibe. Plus, they allow pets! Rates start at $35 for 30 minutes, not including a $25 top-up for all digital copies.
Photopia: For couples who want casual and cosy PWS-style photos without actually having a PWS, consider having yours done at Photopia in Orchard Central or its sister studios in Funan and The Centrepoint. We love how these studios are private, with no staff contact experience, meaning you can do as many cheesy couple photos as you want without feeling embarrassed. Rates start at $35 for 20 minutes, with an additional $30 top-up for all soft copies.
My fiance and I ultimately chose Photobytes, and while the process was fast, cheap, and easy, it wasn't entirely painless. We took 89 photos in 15 minutes, and in the end, only three were passable thanks to our lack of preparation and our general awkwardness in front of cameras.
Here's what I would have done to prepare if we could have another go at our photos:
1. Plan and rehearse the poses. Those 15 minutes go by FAST. Unless you and your S.O. are influencers, take tons of couple shots on the regular, or are naturally adept at posing, you'll waste precious seconds trying to look cute while achieving your best angles. For best results, shortlist some poses beforehand and practice them in front of a full-length mirror at home a few days before the photo shoot. You can even do a trial run using your smartphone camera's self-timer to see how they turn out. Not only will you look way less stiff (and feel way less panicky) on the day itself, but you'll also eliminate most of your repeated attempts at getting just ONE pose right.
2. Wear comfortable clothing. I chose a rather tight cheongsam, which made it hard for me to do anything other than sit and stand in our photos.
3. Don't worry about hiding the remote. Think of it as a prop! Posing is hard enough, so whoever is taking the photo will feel way more relaxed if they can use the clicker without having to worry about keeping it out of view.
4. Speaking of being relaxed....RELAX. It only took three minutes of failed shots for my fiance and I to realise that we're pretty terrible at posing. Regrettably, I even scolded him a little for not being able to smile properly while clicking the remote, only to realise that I couldn't do it either. Toward the end of our 15 minutes, we basically gave up and went full derp, and you know what? That was the most fun part of the shoot. Instead of aiming for perfection, have fun and make each other laugh, because that will convey the love you feel for each other far more than even the most model-esque poses ever could.
Creating the e-invite
Online graphic design platforms are a dime a dozen, but Canva's versaility, ease of use, and abundance of free fonts and templates make it my to-go choice.
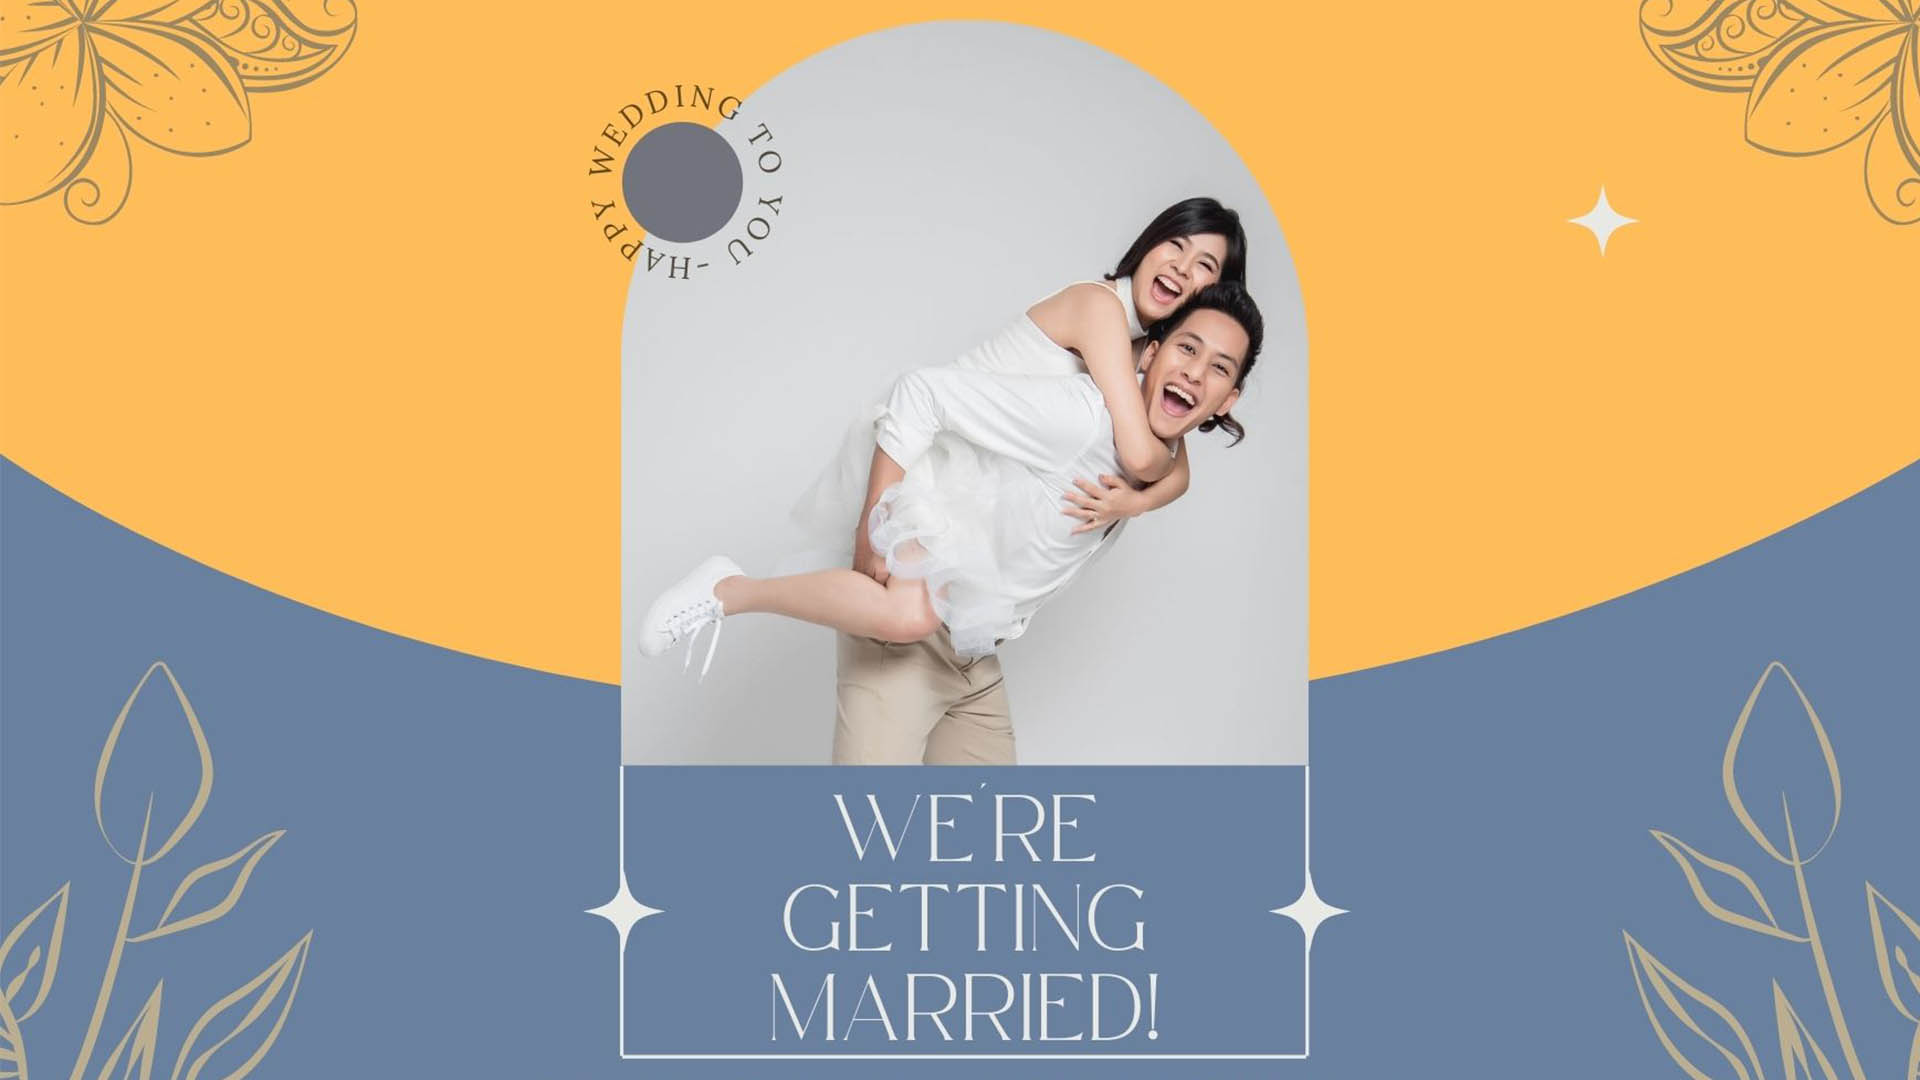
I made the e-invite below in just 10 minutes, using a template and stock photo. Choosing a template can take awhile because #decisionparalysis so I'd recommend setting aside some time to shortlist a few before your get started with your e-invite.
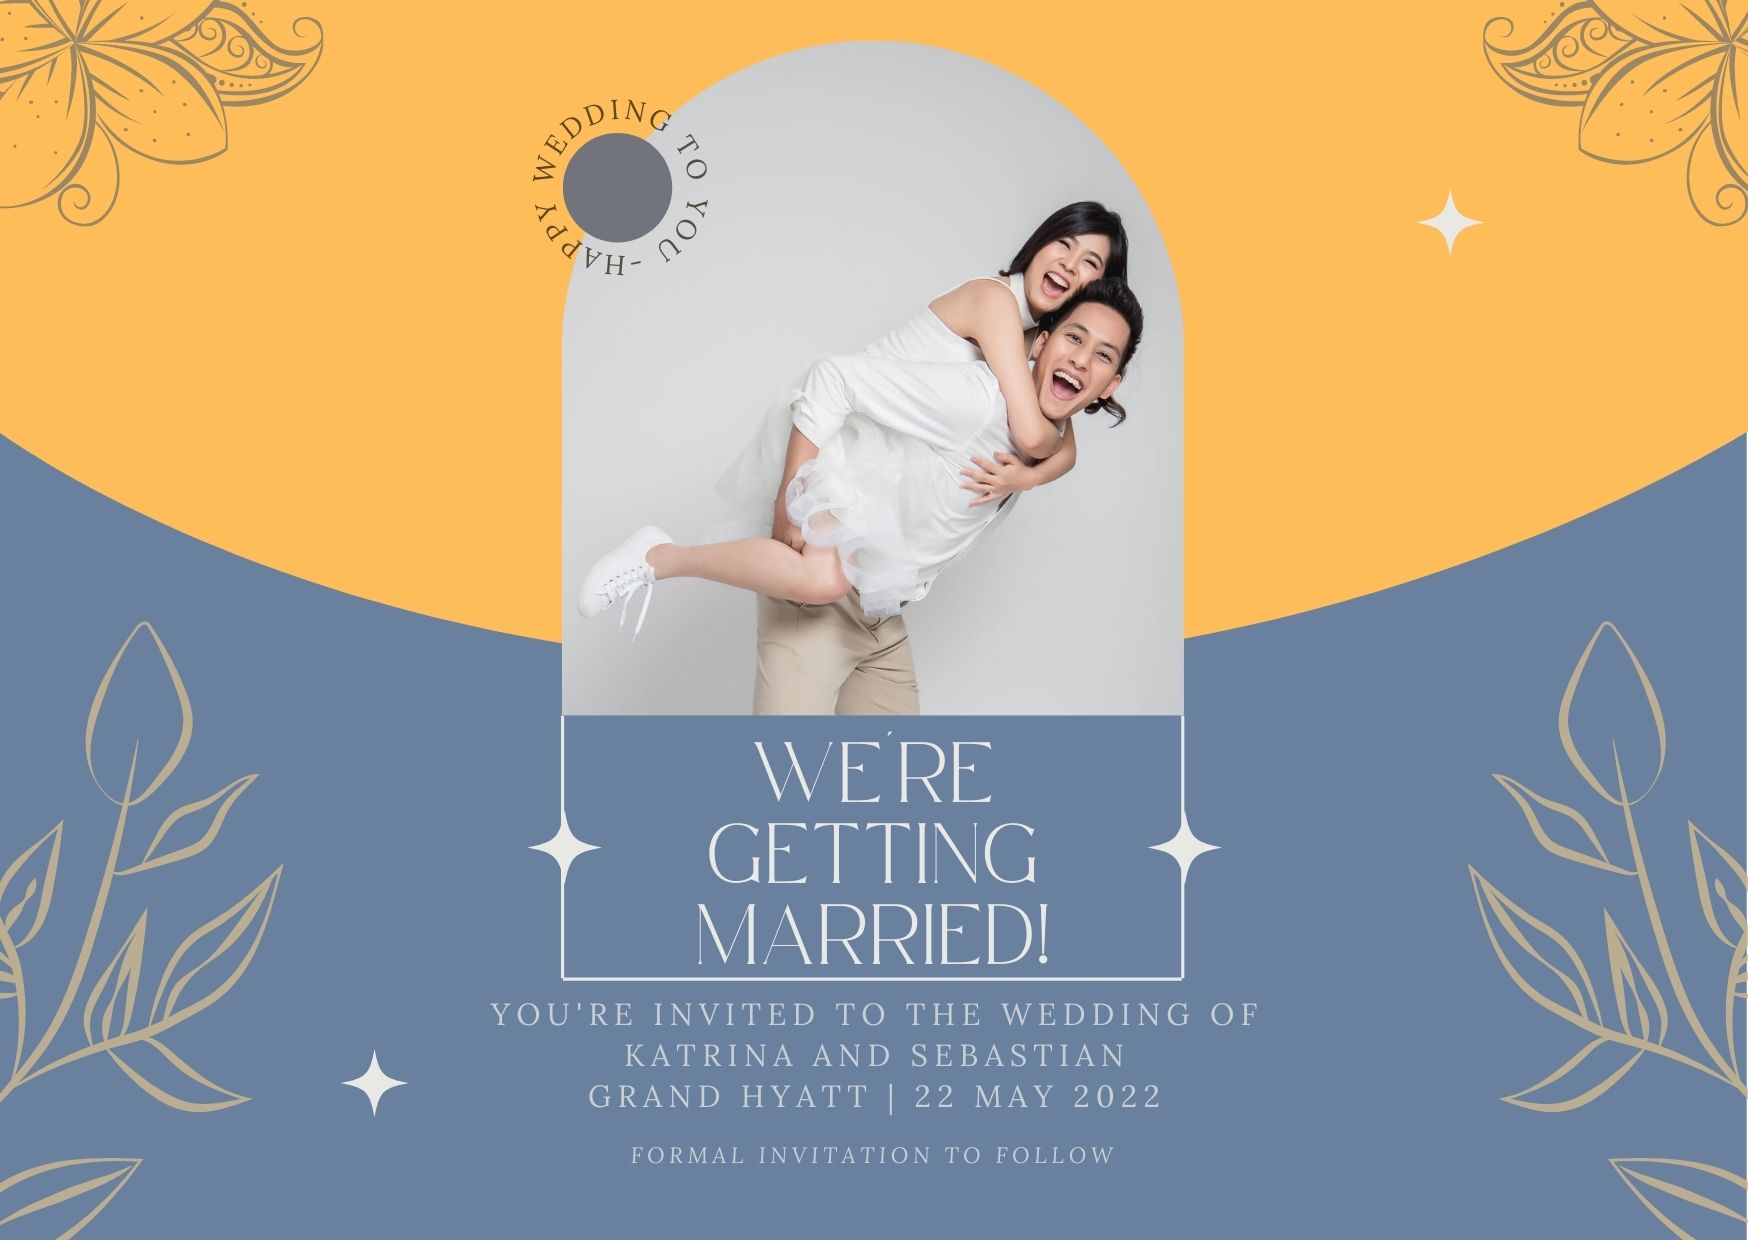
You can tweak the colours and adjust the design elements without having to worry about layers, brushes, or stencils. Easy-peasy when you want something that looks nice and that doesn't take 5 hours to make. Bonus: If you'd like to save yourself the hassle of designing totally new paper invites, you can repurpose your e-invite as a physical invite using Canva Print!
If you don't like Canva, there are plenty of other online applications you can look into, like Pixlr and Adobe Spark. Or go for Adobe InDesign if you're feeling particularly ambitious and prefer not using a template.
Sending your invite
Photos, done. Graphics, done. Now what? You and your spouse-to-be need to decide how best to collect RSVPs.
Wedding websites like Zola and WithJoy make collecting and collating responses a cinch - simply input you guests' names, along with some RSVP questions like "are you attending" and "are you fully vaccinated" into the system, and the website will help you keep track of how many people are attending (a very useful feature now that we need to micromanage group sizes).
Once you've set up your website, simply send the e-invite with an RSVP link and a short personalised message to your invitees, and you're good to go!
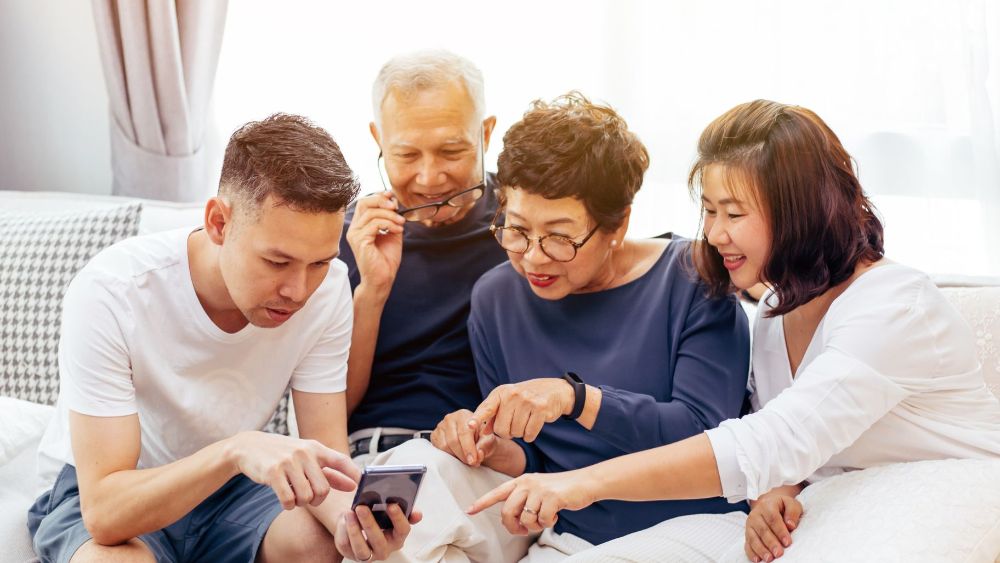
"But what about my parents? My ah gong and aunties won't use this leh."
Yeah, yeah, it's kind of weird to send your 75-year-old grandfather an e-invite with an RSVP link. Work with your parents to figure out the best way to verbally invite your older relatives to the big day before passing them the physical invite. If anything, you can send them the e-invite card over Whatsapp, but verbally invite or send them a personal message. Once they've answered, you can manually input their response into your wedding website's attendance tracker.
All the best with your planning, and remember to have fun!
For the latest updates on Wonderwall.sg, be sure to follow us on TikTok, Telegram, Instagram, and Facebook. If you have a story idea for us, email us at [email protected].
